Get a Quote
Send your contact information and we will get back to you as soon as possible.
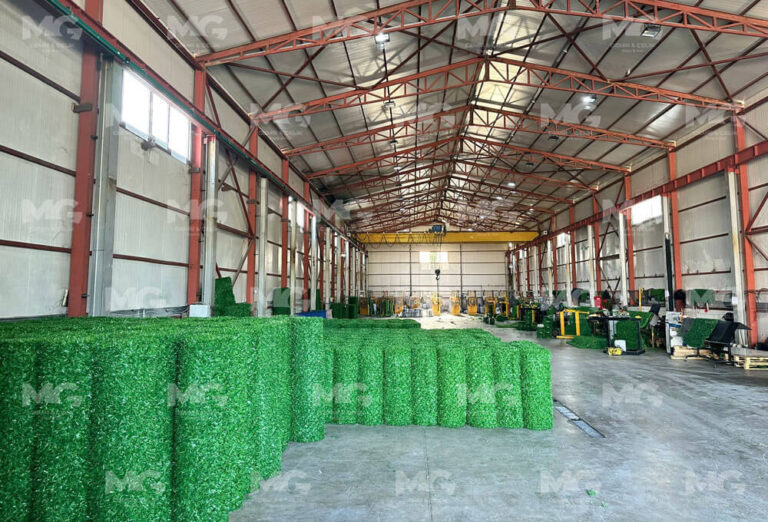
Grass fences have become increasingly popular in gardens, terraces, and various outdoor spaces due to their aesthetic appeal and low maintenance needs. These artificial fences mimic the look of natural grass, adding a decorative touch to the environment while also providing privacy and security. For those interested in DIY projects, installing a grass fence can be a fun and rewarding experience. In this guide, we’ll provide a detailed, step-by-step explanation of how to install grass fences.
Before starting the installation, gather all the necessary materials and tools to ensure a smooth process:
First, prepare the area where the grass fence will be installed. Ensure the surface is clean and even. If there is an old fence or any obstructions, remove them. Regardless of whether the ground is soil, gravel, or concrete, creating a firm foundation for the fence posts is essential.
Measuring: Carefully measure the area. Determine the length and height of the fence you will install. This step will help you calculate the number of fence panels and posts you’ll need.
Grass fences are typically secured to fence posts to create a sturdy and durable structure. Measure and mark where the posts will be placed.
Post Spacing: The distance between posts should generally be between 1.5 to 2 meters (5 to 6.5 feet) to ensure the fence is resistant to external factors like wind.
Setting the Posts: Place the posts into the ground. If the ground is soft, use concrete mix to secure the posts more firmly. After setting the posts, use a level to ensure they are upright and aligned.
Grass fence panels come in various sizes and can be trimmed to fit your space. Before attaching them to the posts, check if they need to be adjusted for size.
Trimming: If the fence panels do not fit your area perfectly, use garden shears or a cutter to trim the excess parts. Make sure the cuts are clean and straight.
Once the posts and fence panels are ready, you can begin mounting the panels.
Placing the Panels: Place the grass fence panels between the posts. If you’re using metal posts, you can secure the panels with mounting clamps. For other types of posts, use screws and a drill to secure the panels.
Reinforcement: Ensure the panels are firmly secured by attaching at least 2-3 mounting points on each post. This will prevent the fence from sagging or loosening over time.
After installation, it’s essential to perform a few final checks.
Leveling Check: Make sure all the fences are at the same height and properly aligned. If you notice any irregularities or gaps, make the necessary adjustments.
Finishing Touches: Clean up any excess material from the fence panels or posts. If needed, use shears for small touch-ups.
Sturdy Post Selection: To ensure your grass fences last longer, choose posts made from durable materials. Galvanized fence posts are a good option.
Wind Resistance: If your grass fence will be installed in a windy area, reduce the spacing between the posts to make the fence more resistant to wind.
Regular Maintenance: Grass fences generally require minimal maintenance and can be easily cleaned with water in case of dust or dirt buildup. It’s also a good idea to periodically check that the fences remain securely in place.
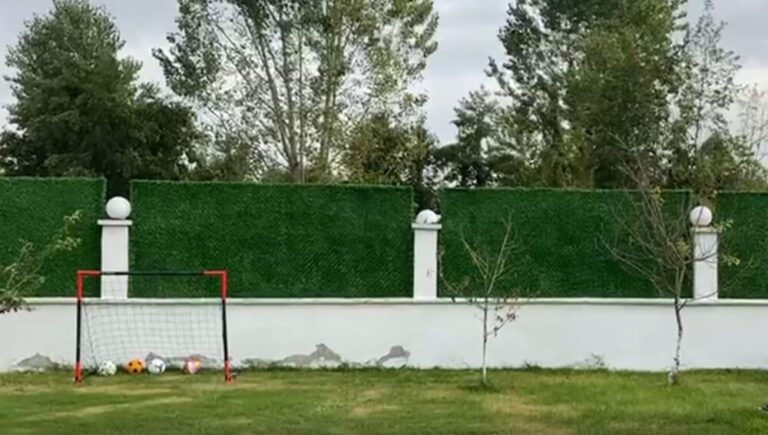
You can install grass fences yourself or get professional help to ensure a sturdy installation with the right materials and steps. High-quality and durable grass fences offer an ideal solution not only for aesthetics but also for privacy and security.
Subscribe to our newsletter to be informed about our company and products.